Visma.net ERP
About the window toolbar
The window toolbar, available on most windows, is located
near the top of the window, under the window title bar, see the screenshot below: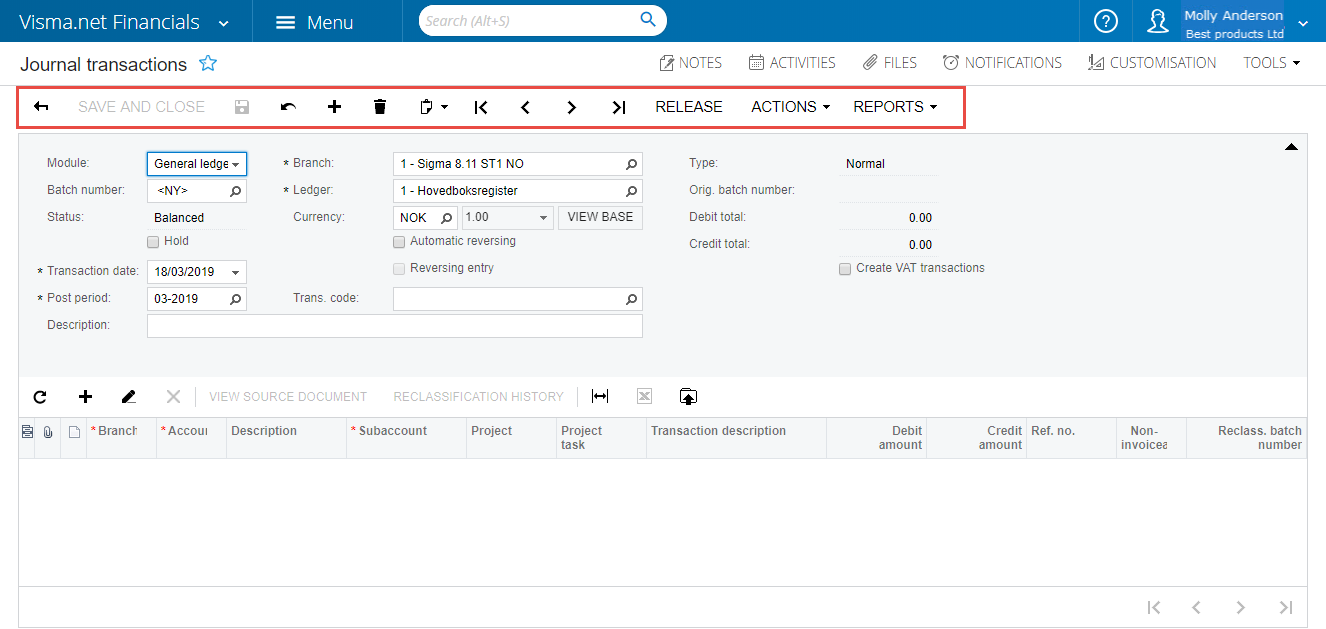
It may
include standard and window-specific buttons.
You use the standard buttons on the window toolbar to navigate through objects and entities that were created by using the current window, insert or delete an object or entity, use the clipboard, save the data you have entered, or cancel your work on the window.
In addition to standard buttons, a window toolbar on a
particular window may include window-specific buttons.
These buttons
usually provide navigation to other windows, take specific actions,
and perform modifications or processing related to the functionality
of the window.
The following table lists the standard buttons of the window toolbar.
A window toolbar may include
some or all of these buttons:
| Button | Icon | Description |
|---|---|---|
| Save |

|
Saves the changes made to the object or entity. |
| Cancel |

|
Depending on the context, does one of the following:
|
| Add record |

|
Clears any values you have specified on the window, restores any default values, and initiates the creation of a new object or entity. |
| Clipboard |

|
Provides menu commands to do the following:
|
| Delete |

|
Deletes the currently selected object or entity, clears any values you've specified on the window, and restores default values. You can delete a document that is not linked with another document. |
| Go to first record |

|
Displays the first object or entity (in the list of objects or entities of the specific type) and its details. |
| Go to previous record |

|
Displays the previous object or entity and its details. |
| Go to next record |

|
Displays the next object or entity and its details. |
| Go to last record |

|
Displays the last object or entity (in the list of objects or entities of the specific type) and its details. |
| Schedules |

|
Gives you the ability to schedule the processing. |
Visma.net ERP inquiry windows present the data in a tabular format.
These windows
can be designed by a user with the appropriate access rights by
using the Generic inquiry tool.
User guide), or can be initially configured in your system.
A toolbar of an inquiry window contains both the standard window toolbar buttons (described in the table above) and additional buttons described below.
| Button | Icon | Description |
|---|---|---|
| Fit to screen |
|
Expands the window to fit on the screen and adjusts the column widths proportionally. |
| Export to Excel |

|
Exports the data to an Excel file. For more information, see: n the Visma.net ERP User guide. |
| Filter settings |
|
Opens the Filter
settings dialog box, which you can use
to define a new filter. After the filter has been created and saved, the corresponding tab appears on the table. |